3D Images
Anaglyphs
Anaglyphs are 3D images created by taking two pictures of a scene, one
with a red lense and one with a blue. These 3D images can be viewed
with the Red/Blue 3D glasses. Anyway, I wrote a program which can combine
two bitmaps into a red/blue anaglyph and created some pictures by
taking a picture with a digital camera, carefully moving the camera
about 7cm or so to the right and taking a second picture. The BMP's
that can be fed into this program can be either color or black and
white, the program will take care of both.
You can download the source code, Windows executable,
or view some samples by clicking
on the links below:
anaglyph-0.90.tar.gz (Source code)
anaglyph-0.90.zip (Windows Exe)
I also recently made an FTLK based GUI that can show a real time image from 2 cameras and allow a single button click to make a snapshot and 3 buttons for
creating stop motion animation. Probably doesn't compile easily outside
of my build system and requires my AVI library from
libkohn_avi and FLTK2. If anyone wants to try and compile it the
source is here:
anaglyph_fltk-2011-01-30.tar.gz
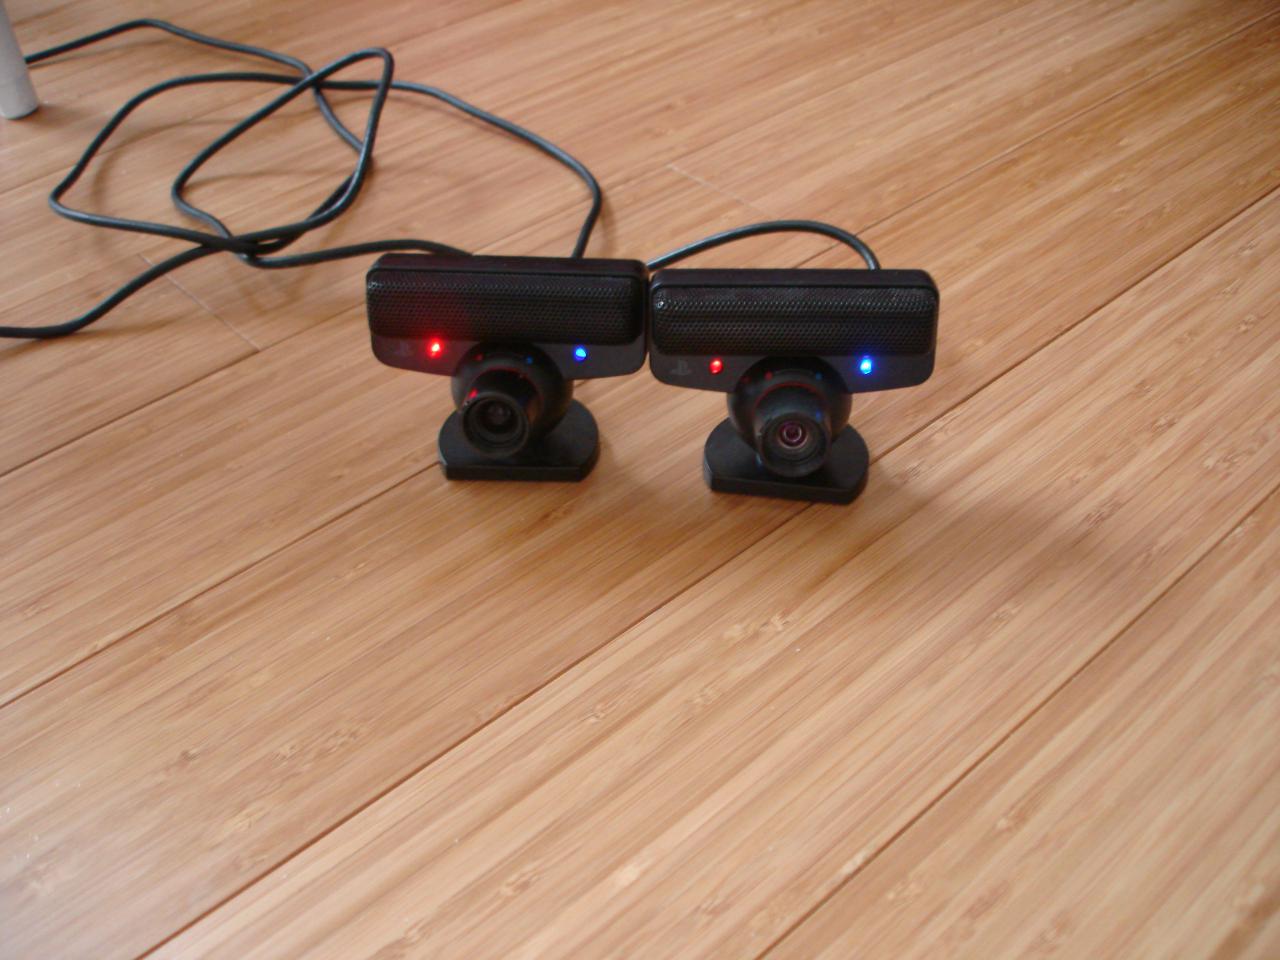 |
Here are two Playstation 3 cameras I used to make the image and stop motion video below. |
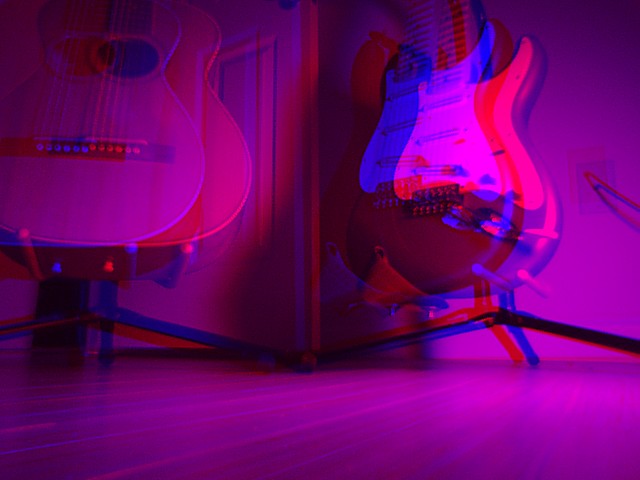 |
A couple guitars in 3D. |
Stereograms (Magic Eye Pictures)
Stereograms (also called Magic Eye pics) are pictures that when you
stare at them, something will pop out in 3D. No special glasses needed :).
The trick to these images is to slightly cross your eyes while staring at
the image, or to focus your eye on something that would be closer than
the image (or is it futher away.. hmmm). It might take some practice to
be able to see these.
Anyway, to use this program, you give it a normal image (2 or more colors)
and the program will create a stereogram based on this. The program will
scan from left to right and if it sees a new color it will raise that
part of the image forward until it sees the previous color. In other
words, on the sample picture below, the program will always see the
color white first (the background color). If the program is working
on the center of the screen, as the program scans right, it will see the
color black. At that point it will pull the image forward. When it
sees red it will pull the image forward again. When it sees black again,
it will push the image back in, etc. etc. The two pictures below show
a before and after:

|
The image before running through the stereogram program. |
|
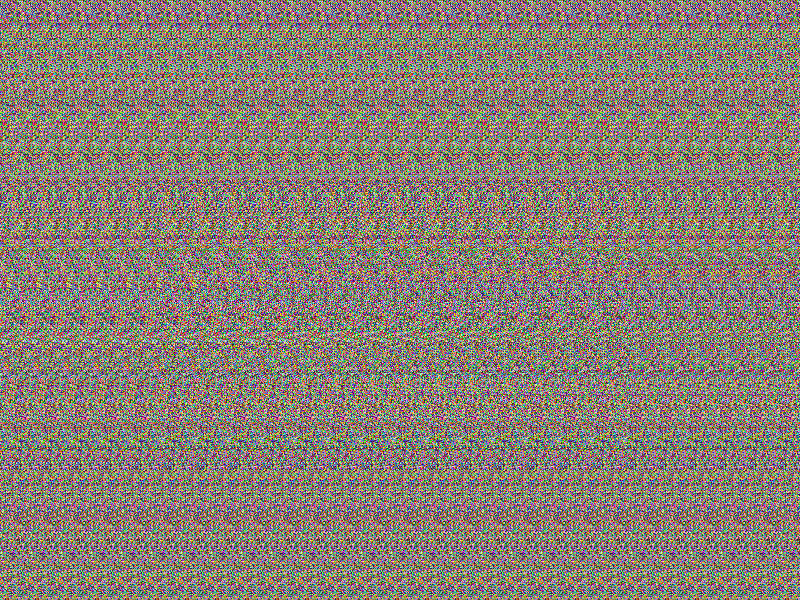
The image after running through the stereogram program |
Usage: stereogram [ -options ] <image.bmp> <output image.bmp>
-width <pattern width (default 30) >
-delta <num pixel change (default 3) >
So to make the image above I just typed:
./stereogram mike3.bmp stereo3.bmp
Note that the input and output files must be BMP's. If you wanted the pattern of pixels to be 40 instead of 30 and you wanted to remove/add 7 pixels from the image in a depth change, you could type:
./stereogram -width 40 -delta 7 mike3.bmp stereo3.bmp
Note: The version from February 2005 had a bug where it was creating the bmp images wrong, especially if the input image wasn't a multiple of 4. This should be fixed in the November 2, 2005 version.
Anyway, you can download the program here:stereogram-2005-11-02.tar.gz (Source code)
stereogram-2005-11-02.zip (Windows Exe)
Copyright 1997-2026 - Michael Kohn
