Mini Cooper Xbee
Posted: July 4, 2016
Updated: September 13, 2018
Introduction
I wanted to play around with some XBee modules so I figured another little radio control car circuit might be fun. Like some other R/C car circuits I did before, I picked out a cheap R/C car, this time a Mini Cooper S, ripped out their radio control circuit, and replaced it with my own. To control the car I have software written on a PC using SDL that takes input from the gamepad and sends commands over another XBee to the car. The software also reads from an IP camera and draws the video in the display window.
Update: September 13, 2018: I reworked the firmware so it could drive based on specific patterns and input from a proximity detector on the front. I posted a new video of that below the old one.
Related Projects @mikekohn.net
| RC Cars: | IR Toy Car, IR Toy Car dsPIC, Bluetooth RC Car, RC Drag Race, WiFi RC Car, Xbee RC Car, RC Food |
| Motors: | Linksys Copter, Brushless Controller, IR Toy Car, Balsa Airplane |
Explanation
For this project I'm using an MSP430 for the computer. This timeinstead of making my own H-Bridge or using a raw motor control chip like I did before, I got a Pololu DRV8833 motor control board. The reason I went this route is because the L293 chips I normally would use require 5v logic and I didn't feel like adding extra circuitry for it and the H-Bridge is a lot of soldering.
The command set the MSP430 understands is:
0x00: NOP (heartbeat to let the car know it still has a connection to the netbook)
0x01: Car horn on
0x02: Car horn off
0x03: Brakelights on
0x04: Brakelights off
0x05: Headlights on
0x06: Headlights off
0x80: Steering motor 0x80 + (0 to 63) where 0 is full left and 63 is full right
0xc0: Drive motor 0xc0 + (0 to 63) where 0 is full speed backwards and 63 is full speed forwards
Videos
Testing the system with the car lifted off the ground.
I updated the car recently so it drives itself.. a self driving R/C car. The Xbee is still connected here, but it's completely ignored by the firmware. There is a proximity sensor on the front that will stop the car from moving forward if it's about to run into something.. kind of too short of a distance so it always runs into things anyway.
Pictures

Here is the car still in the box and the circuit not quite finished. At the top is the XBee, in the middle the MSP430, and at the bottom a Pololu DRV8833 motor control board.

Here's the car opened up with the original circuitry still installed.
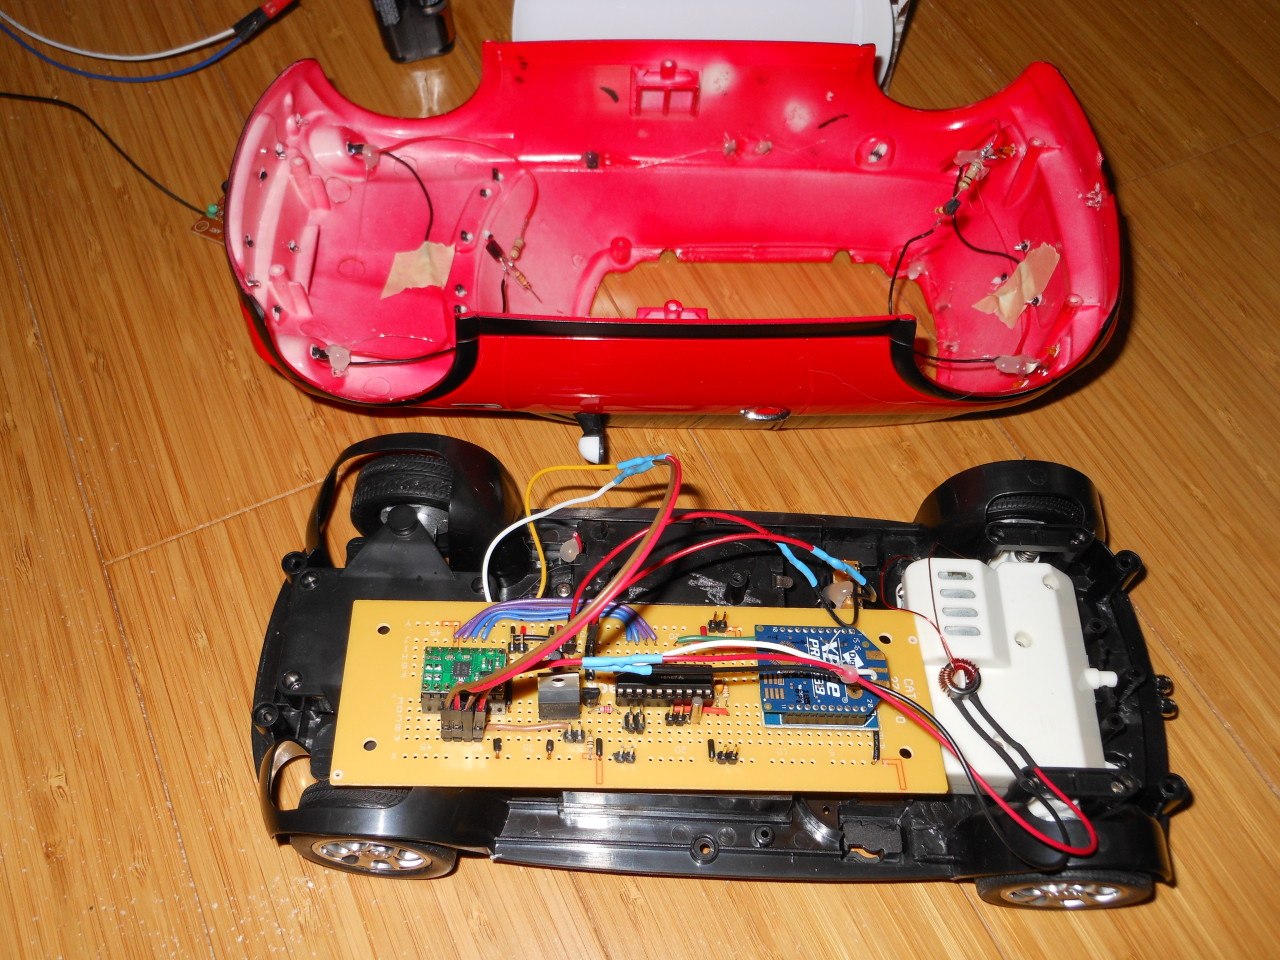
Here's the car opened up with the new circuitry.
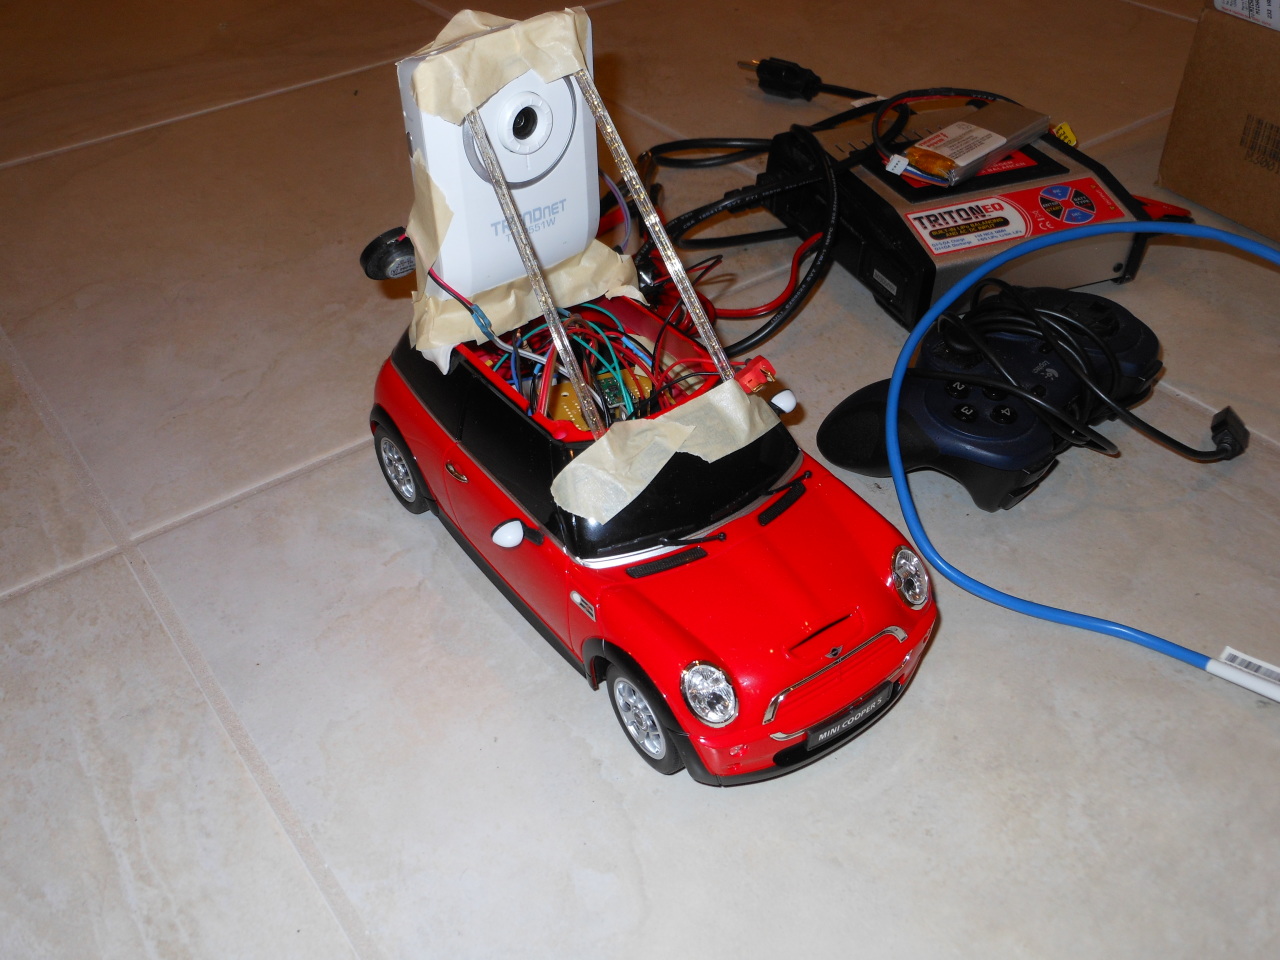
Here's the car with the WiFi security camera on top. To support the camera on the top of the car I got some plastic cocktail stirrers and snapped them to fit the size I need. I put some putty under the camera to support it on the bottom and used masking tape to hold it all together. Pretty ugly, but it works.

Here's the car from a different angle with the WiFi security camera on top.
Source code
https://github.com/mikeakohn/small_projects/blob/main/toy_cars/xbee_car.asm
Copyright 1997-2026 - Michael Kohn
