IR Toy Car w/ dsPIC
Posted: September 3, 2013
Introduction
So this is "pimp my crappy-ass toy R/C car" part 2. In my first project I used an MSP430 and a $10 car. In this project I'm using a dsPIC30F3012 and a $20 car. The new car is a little bigger so all the electronics fit inside nicely this time. I also made my own joystick using SparkFun's joystick kit and an MSP430 programmed for the Syma S107 helicopter controller protocol. And by the way, I'm already working on part 3 of this :).
Related Projects @mikekohn.net
Explanation
My microcontroller of choice for this project is the dsPIC30F3012 simply because I just finished redoing my naken_asm assembler for dsPIC and I've haven't done dsPIC assembly yet. I have to say I'm really liking this chip, especially compared to the older PIC's that I used to use. One advantage this chip has over the original MSP430 I used is with the dsPIC I could use a 20MHz resonator and have an accurate clock, although for this project it's not that important. My second reason for picking the dsPIC over the MSP430 this time was because my original H-Bridge I designed had P-Channel MOSFET's with gates that needed 5v to completely open. The N-Channels would have done fine at 3.3v, but I had trouble finding P-Channels (at least in my price range).
So I originally created a circuit with 2 H-Bridges using some medium sized (IPAK package) MOSFET's I found, but there were so many little connections and the circuit was getting really ugly so I instead bought a couple of H-Bridge chips: the L293 and the SN754410. This was actually a mistake on my part in reading the datasheets. For some reason I thought the L293 could handle more current with the disadvantage of having to have external diodes. It seems the SN754410 could have handled the same current without the diodes. Owell. I used 2 chips since I wanted to run the back motor at a higher voltage than the steering control.
Once again I added headlights, this time they should be a bit brighter. Since the joystick sends the buttons in the correction byte of the Syma S107 protocol, I used one button to turn the headlights on and the other off. Each LED is controlled by a different pin on the micro so I could make them flash back and forth or use them for debugging or such, but for now they both light up together.
Unlike the original car's circuit which could only turn on the motors forwards or back at full speed, I've added the ability to control the speed of the rear motors. The speed control is done by PWM'ing the motor using one of the dsPIC's timer interrupts. A look-up table (which actually was one of the only really awkward things in the dsPIC chip I've found so far) is used to convert from a Syma number to a interrupt count length. The same timer interrupt is also used for the timings on the IR and to shut off the motors after 500ms if the circuit isn't receiving any more data.
Video
Coming soon
Pictures
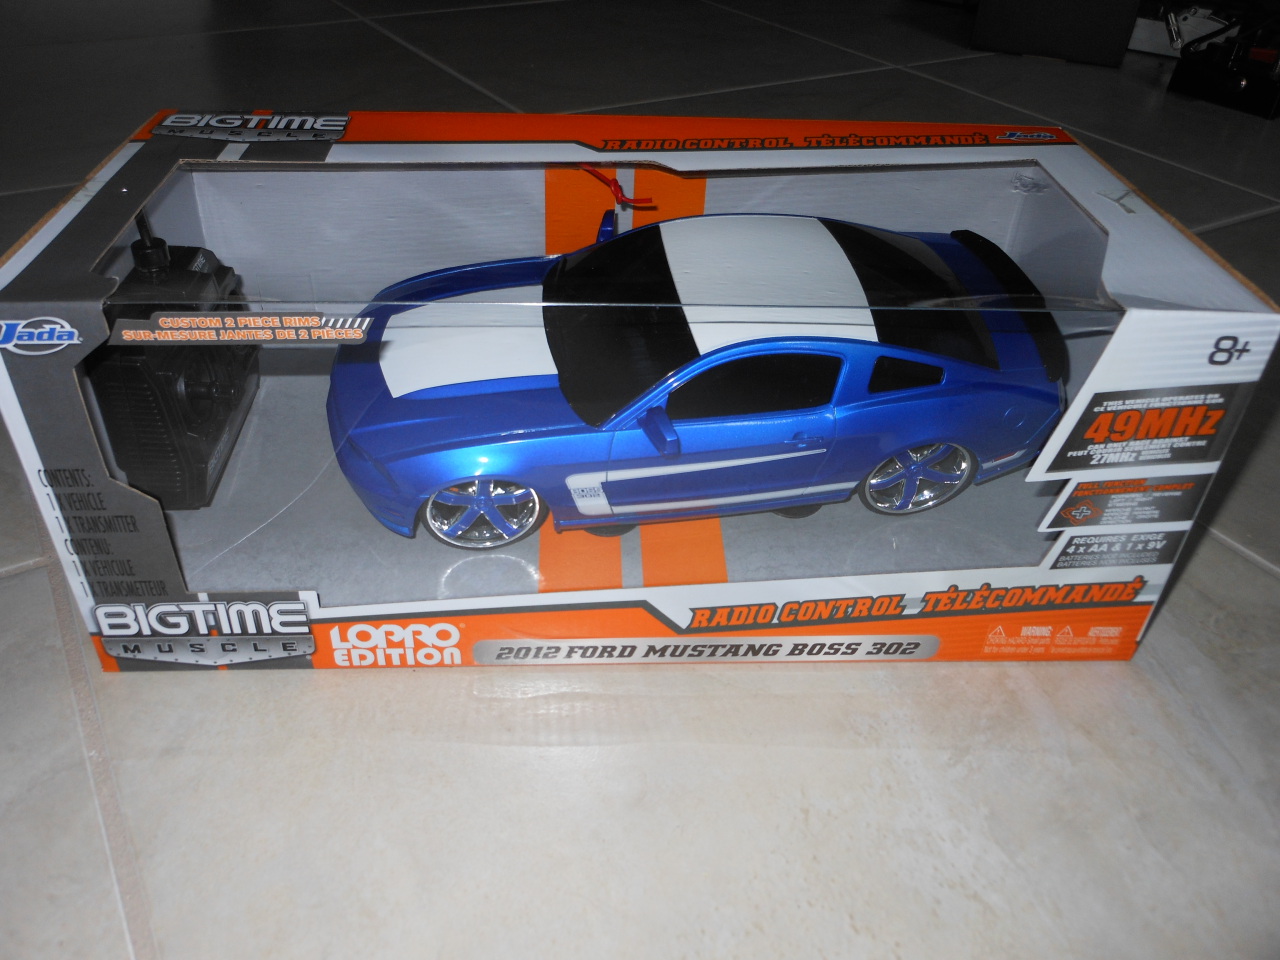
The car, seen here in its original packaging, is made by Jada with the model being BigTime Muscle. This is a 2012 Ford Mustang Boss 302. The original circuit is only able to go left/right and forward/back without any speed control. My circuit gives PWM to the back motor so speed can be adjusted. The front wheels have a very weird design where there is another motor similar to the one in the back that can pull the wheels left/right depending on the direction of the current. The wheels are centered by some springs. Kind of seems hackish to stall a motor like this, but I guess it works.
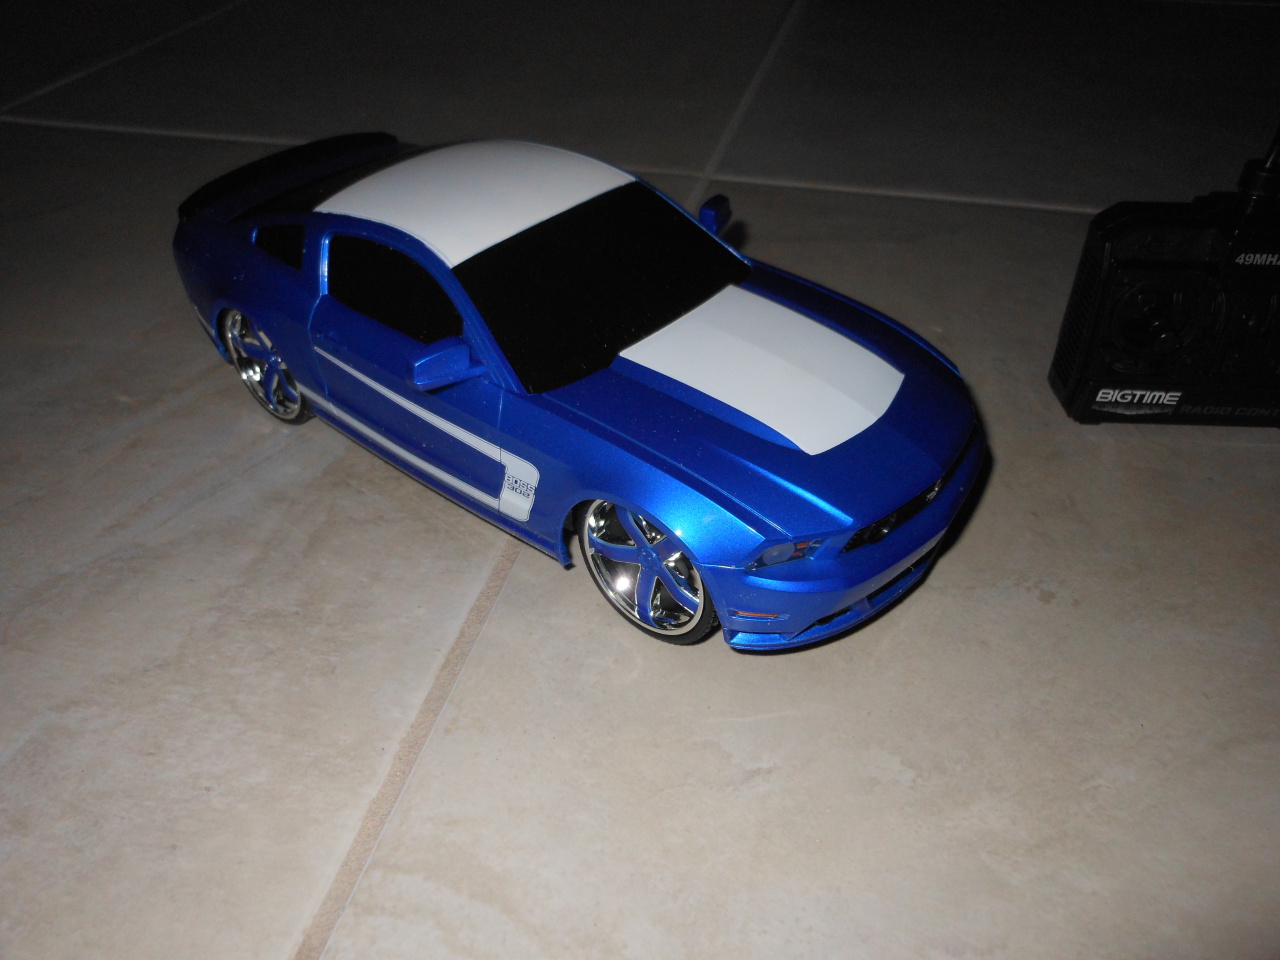
For being such a cheap car, it was actually kind of impressive. With the original circuit and controller it drove around really nice and it was pretty neat looking. The biggest negatives are 1) not having a speed control, 2) only full left/right onthe steering, 3) the motor seems a bit small for this car, and 4) it needed headlights :).
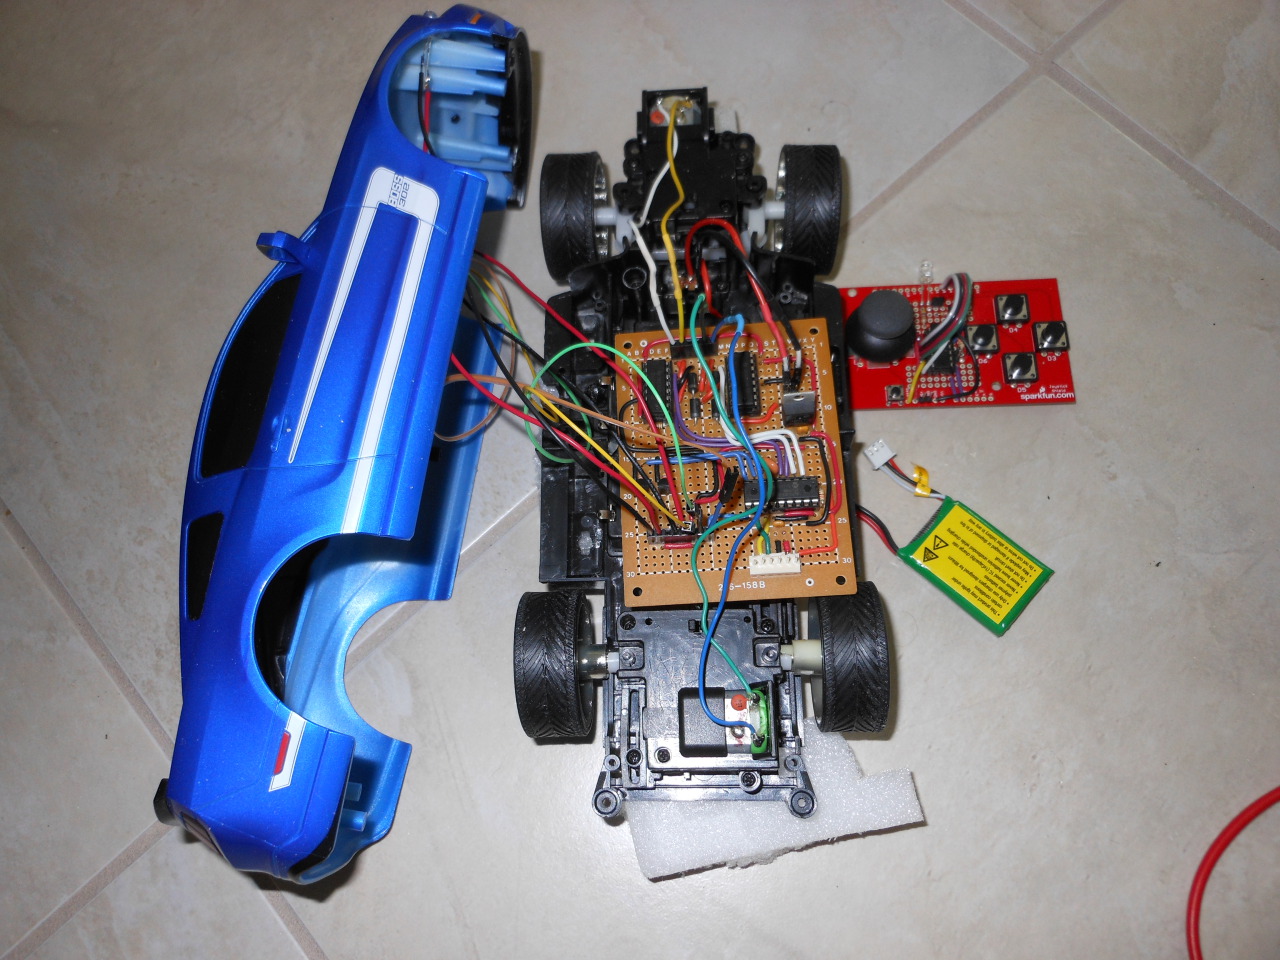
The circuit board in the car all hooked up and ready to go. To the right is the little 7.4v LiPo battery I'm using and above that is the Sparkfun MSP430 joystick. I was tempted to try an 11.1v LiPo also to see if I can make the car faster, but with that little motor and weak circuit I'd be afraid it would catch fire.
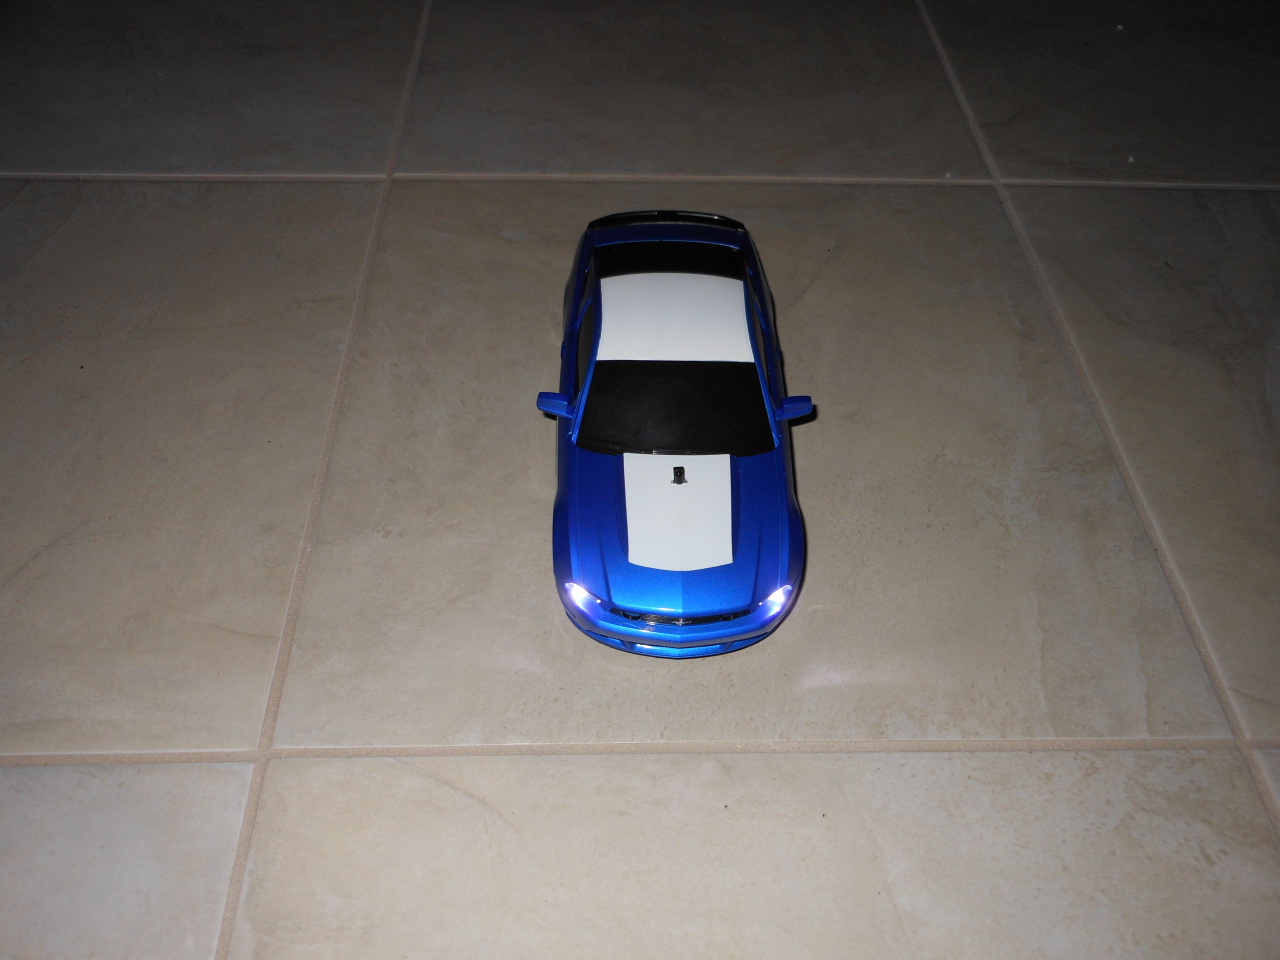
The car put back together. On the front, the TSOP38238 is sitting on the hood of the car and the headlights I added are turned on. Unfortunately the flash from the camera makes this hard to see.
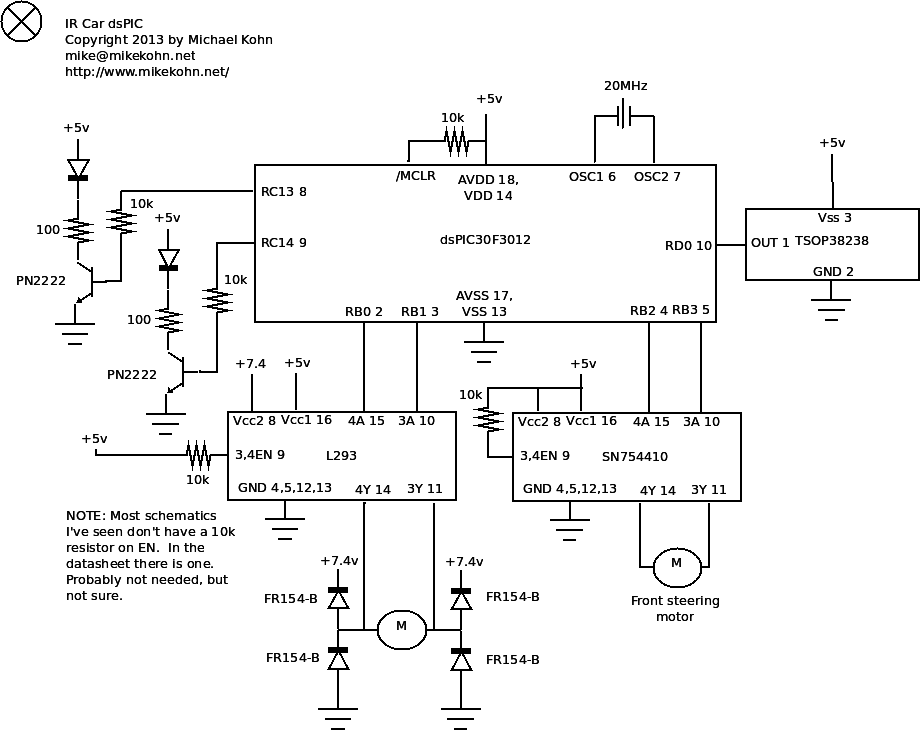
And here's the schematic...
Source code
https://github.com/mikeakohn/small_projects/blob/main/toy_cars/ir_car_dspic.asm
Copyright 1997-2026 - Michael Kohn
